

How to Cut Back Your Ferns
Fun? Fern Pruning!
Late winter in Seattle – a time when days grow longer, the sun reassures us that our Seasonal Affective Disorder (SAD) is coming to an end, and it’s also when I begin planning for spring and summer growth in the garden.
One often overlooked and undervalued plant in the Pacific Northwest (PNW) is the fern. Did you know there are over 10,500 living species of fern and the are the second most diverse group of vascular plants on earth with flowering plants taking the top spot. What’s a vascular plant you ask? It is a plant that has vascular tissue that transports things like water and minerals throughout the plant.
Blood vessels are the vascular, or circulatory system in animals including humans.
Okay enough geeking out already!
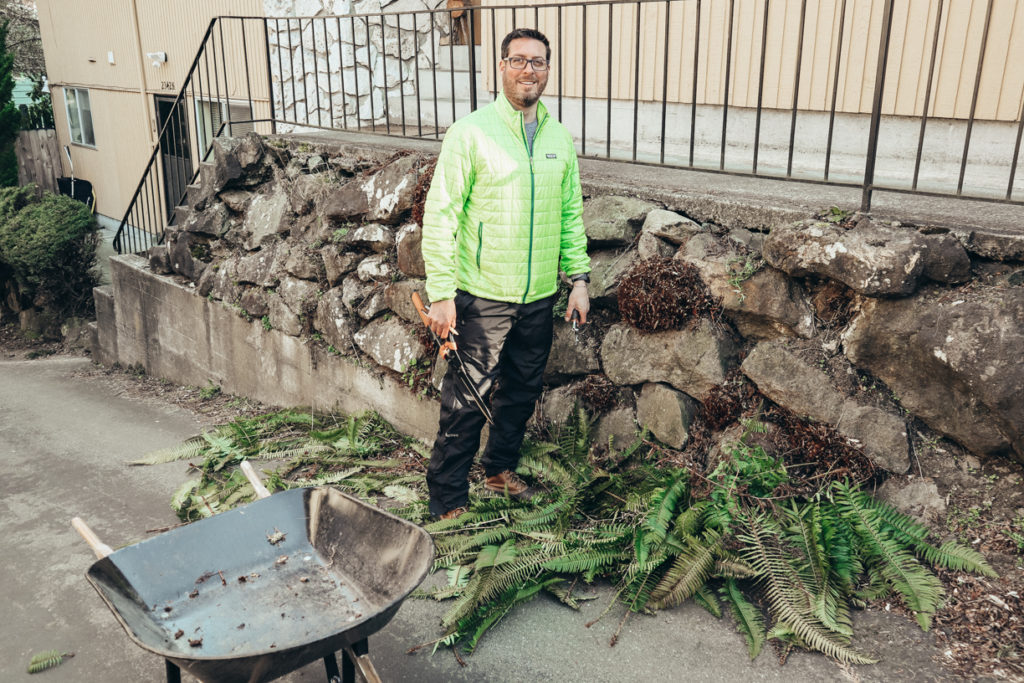
If you’ve ever gone on a walk and noticed a neighbor’s ferns looking all ratty with old reddened dead foliage with new green life poking up here and there, you’ve probably grown to dislike looking at ferns. However, with a little early-in-the-year pruning, you can have the most beautiful ferns on the block. Usually in the PNW, the best time to prune them, and many other shrubs and trees, is late winter/early spring so bundle up and get outside.
I usually try to target my annual fern clean up for on or around Presidents Day. This year we were literally covered in snow in Seattle, and blanketed with freezing air across the region, so I waited until this week to do my fern . You can wait longer, so don’t think you’ve missed the window of opportunity either – you can prune selectively on them as you wish no matter the time of year.
Here are a few tips to get you started…
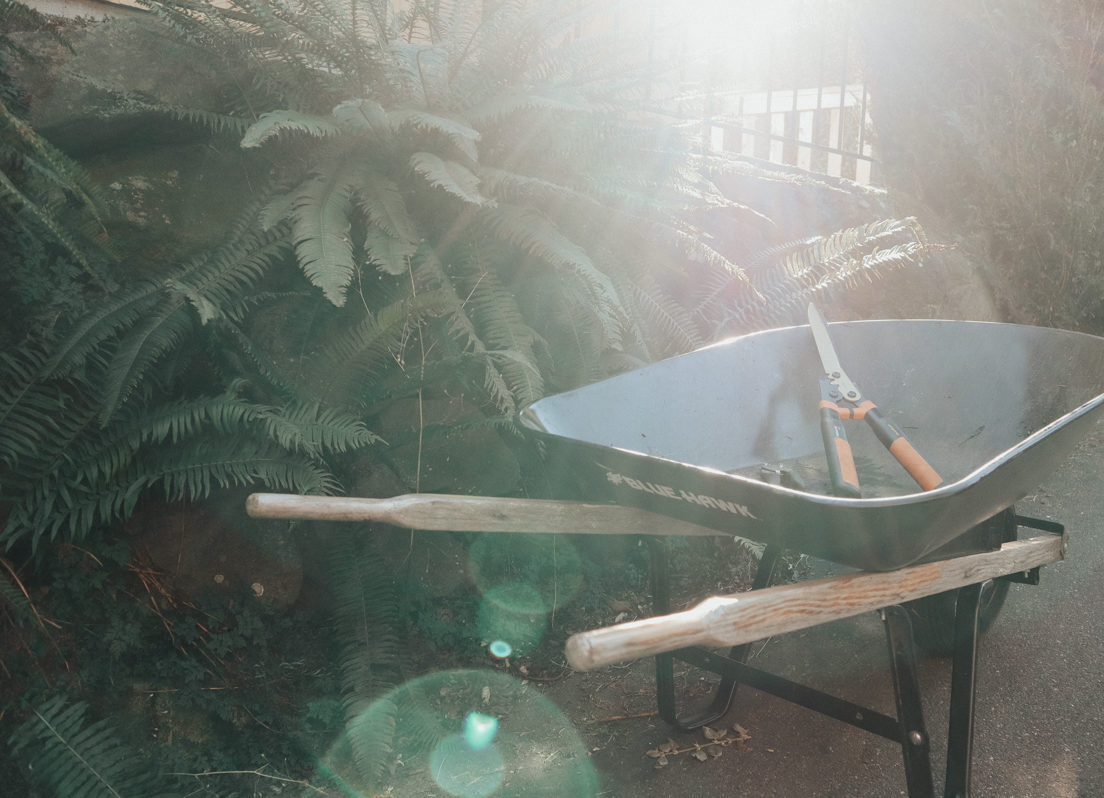
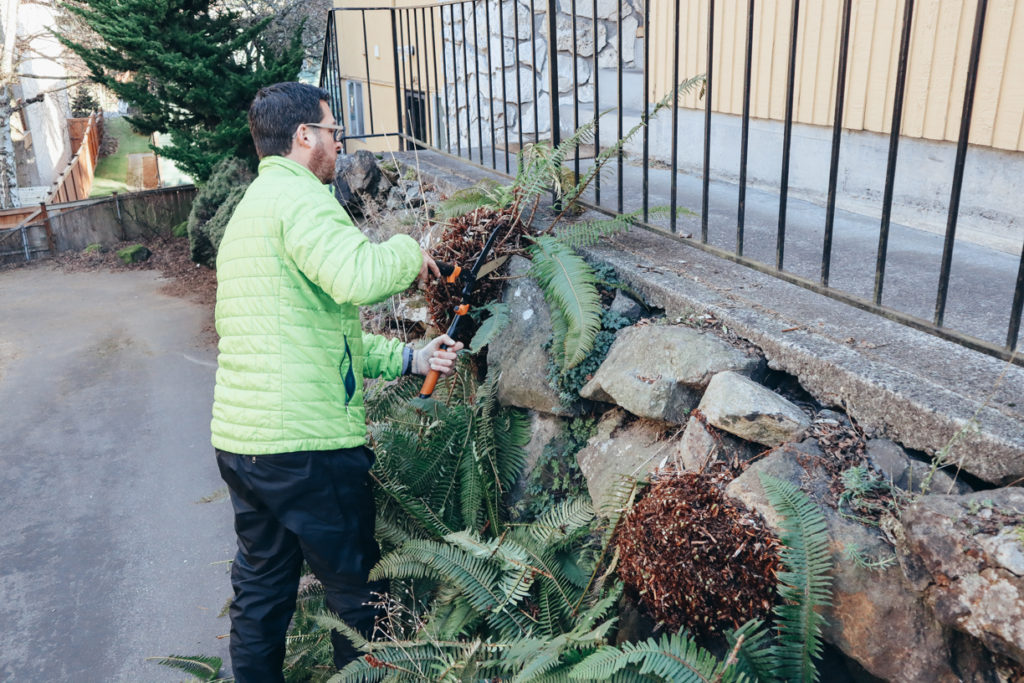
- First, get the tools you need ready. I prefer to use my Fiskar Sheers that have about an 18” “scissor” blade which make quick work of the job and are fun, safe and easy to use. Plan to spend around $25 for a good pair of shears like this. I also use my pair of (also Fiskars) Smooth Action Pruners which is a small hand-held pruner for more detailed and careful trimming around any new growth that’s already started.

- First, get the tools you need ready. I prefer to use my Fiskar Sheers that have about an 18” “scissor” blade which make quick work of the job and are fun, safe and easy to use. Plan to spend around $25 for a good pair of shears like this. I also use my pair of (also Fiskars) Smooth Action Pruners which is a small hand-held pruner for more detailed and careful trimming around any new growth that’s already started.
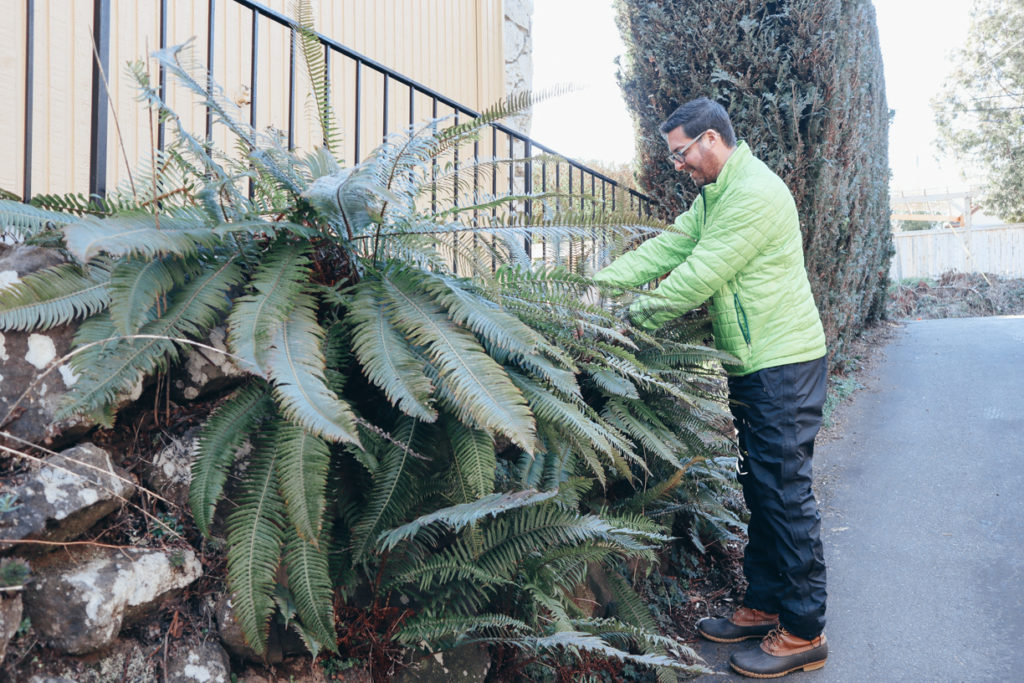
- Before you cut, inspect. Take a look at the base of the plant by moving the fern’s fronds around. Look for small “fiddleheads” poking up. These are new fronds (leaves) so you will not want to cut those off.
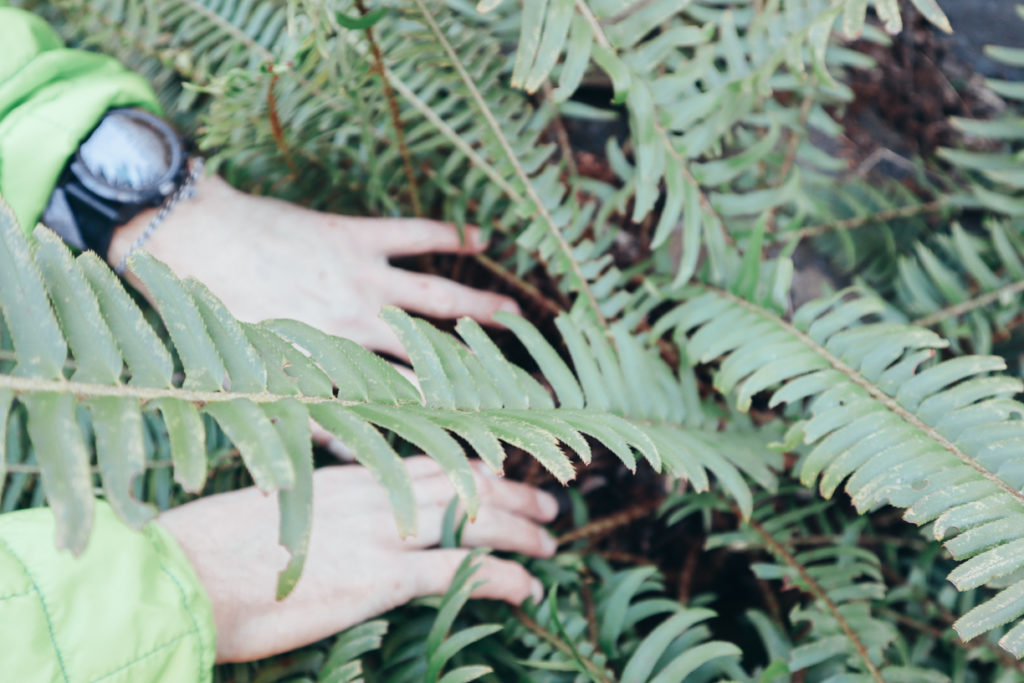
- Before you cut, inspect. Take a look at the base of the plant by moving the fern’s fronds around. Look for small “fiddleheads” poking up. These are new fronds (leaves) so you will not want to cut those off.
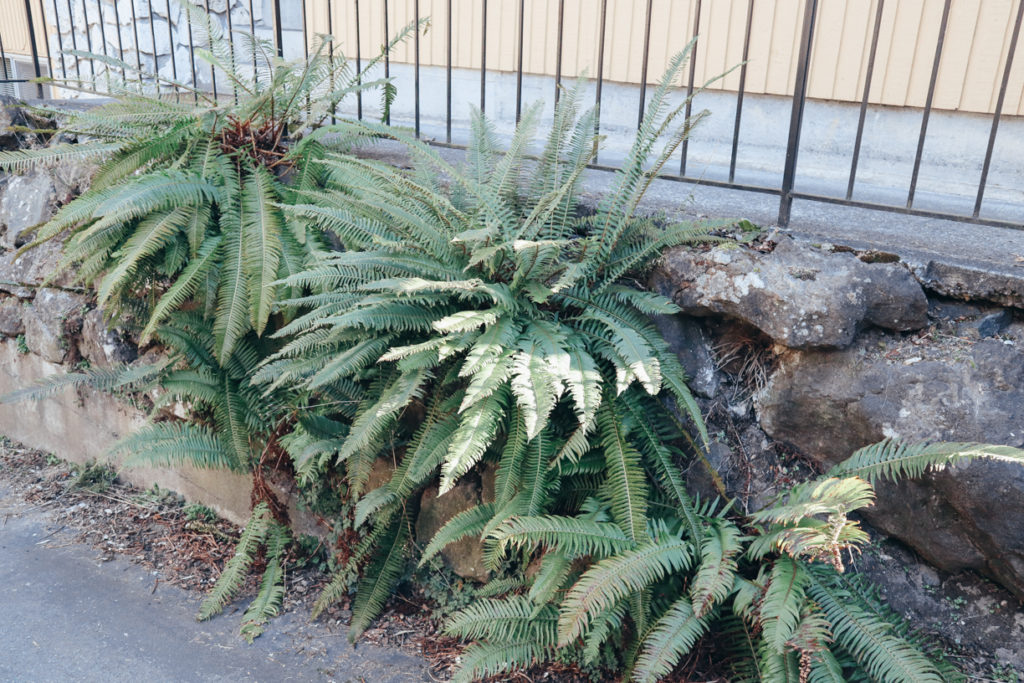
- You might be thinking, “my fern is still green and looks nice, why would I want to chop all that off?!” – and that’s a good question. But trust me, you will be happy later in the year when you get lush growth popping up with a nice clean look.
- You might be thinking, “my fern is still green and looks nice, why would I want to chop all that off?!” – and that’s a good question. But trust me, you will be happy later in the year when you get lush growth popping up with a nice clean look.
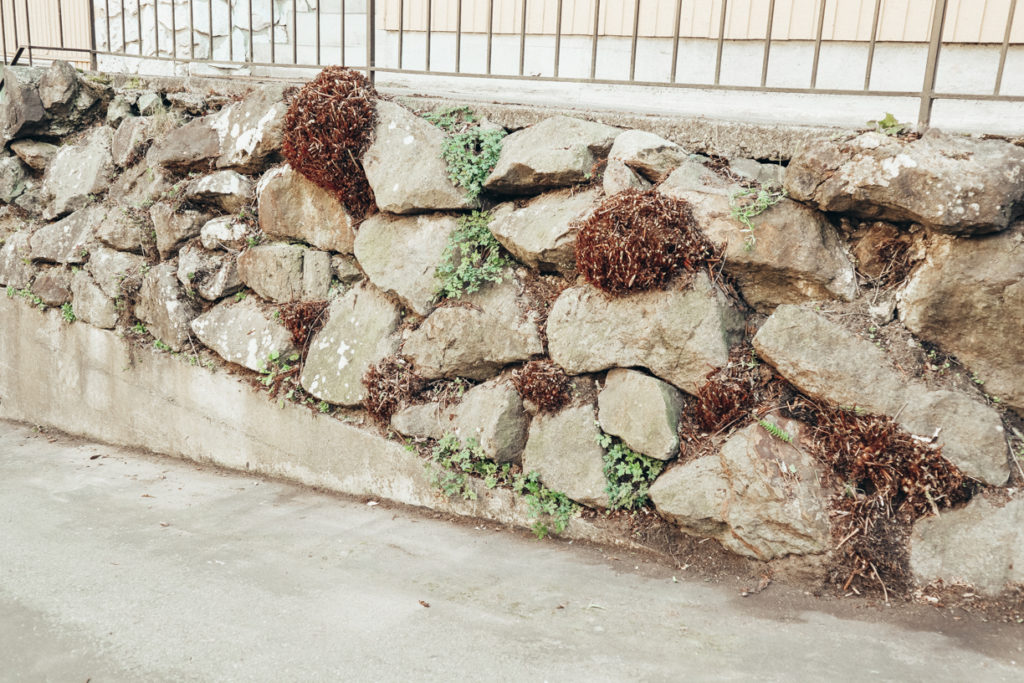
- As you begin cutting, you can cut nearly all the way down to the base of the fern without harming it. So go deep and leave just a few inches sticking up. Older ferns will have a pretty substantial base, especially those that were not regularly trimmed while newer ferns won’t have as much base. Use common sense when cutting them back.
- As you begin cutting, you can cut nearly all the way down to the base of the fern without harming it. So go deep and leave just a few inches sticking up. Older ferns will have a pretty substantial base, especially those that were not regularly trimmed while newer ferns won’t have as much base. Use common sense when cutting them back.
- The next step is the easiest but also possibly the hardest! Waiting for the new fiddlehead growth to start popping up, which depending on your type of fern and the local weather, could happen between a month and three months. Ferns begin their new growth in Spring however, so what I normally see is new growth really staring about 3 to 5 weeks after my Presidents Day trim!
- The next step is the easiest but also possibly the hardest! Waiting for the new fiddlehead growth to start popping up, which depending on your type of fern and the local weather, could happen between a month and three months. Ferns begin their new growth in Spring however, so what I normally see is new growth really staring about 3 to 5 weeks after my Presidents Day trim!
It’s as simple as that! And as Ciscoe Morris says… “Oooh la la!”